Struggling with an attic that turns your house into a sauna? Solar attic fans use the power of the sun to cool down those scorching spaces. Our blog post guides you step-by-step on installing a solar attic fan, making your home comfy once again.
Get ready for cooler days ahead!
Understanding Solar Attic Fans

Solar attic fans help keep your attic cool using the power of the sun. They work by pushing out hot air and pulling in fresh air from outside. This helps lower the temperature in your attic.
These fans are smart because they don’t need electricity from your home to run.
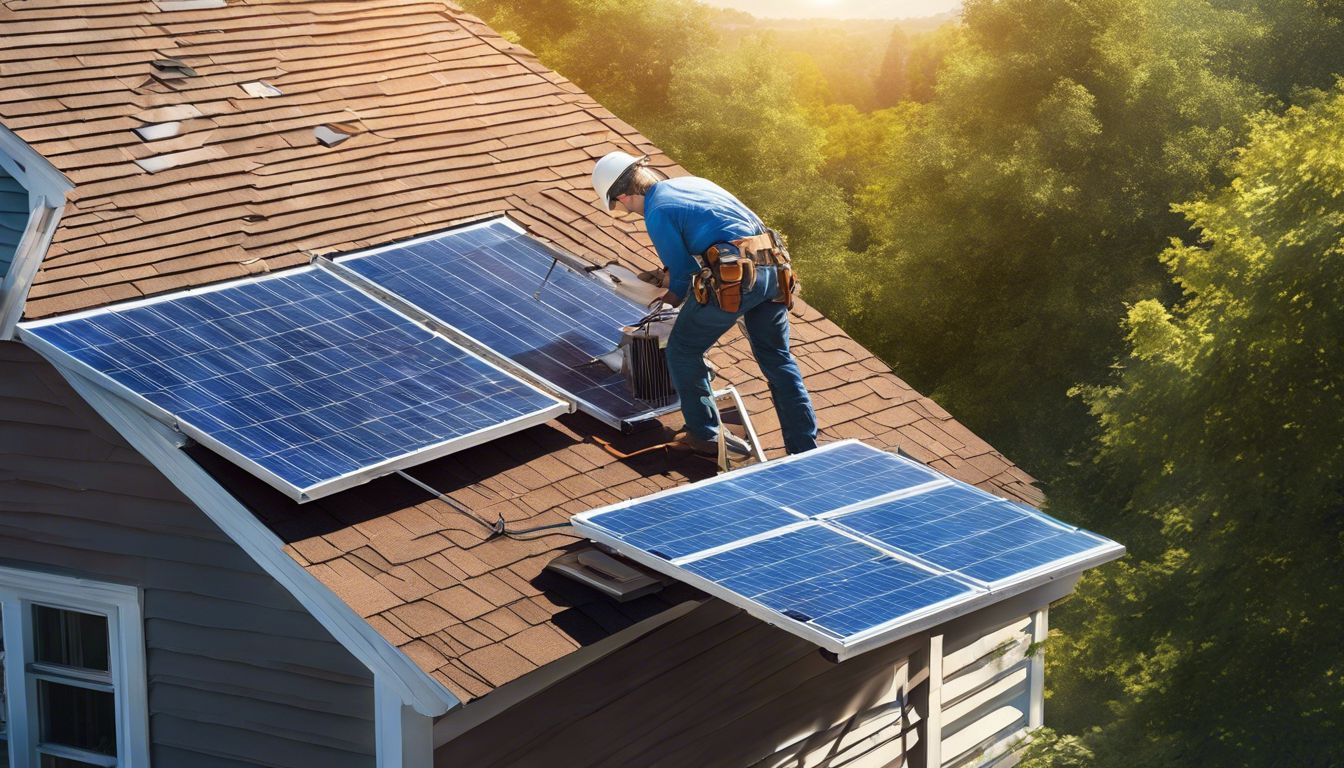
They sit under your roof tiles but stay above the paper that covers your roof’s wood (sheathing). The fan gets its energy from a solar panel. This panel catches sunlight during the day and turns it into power for the fan.
With this setup, you can save money on electric bills and cut down on costs for taking care of your attic later on.
Having enough space for air to come in through soffit vents is key to making sure everything works well. A good balance lets the solar attic fan do its best job without working too hard or too little.
If done right, these fans make it less likely that you’ll face big problems like mold or damage caused by water in your attic space.
Steps to Install a Solar Attic Fan

Ensure Adequate Attic Ventilation before installing the solar attic fan to optimize its performance. Then, Cut a Hole in The Roof and carefully Install the Solar Attic Fan according to the manufacturer’s instructions.
Ensure Adequate Attic Ventilation
Before you put in a solar attic fan, check if your attic has enough airflow. This means the air moves well through the space. If it does not, you may need to add more vents or fans.
Good ventilation helps your solar attic fan work its best.
Make sure bathroom and kitchen vents go outside, not into your attic. Also, do not place the solar fan less than 10 feet from other passive vents. This setup lets fresh air come in easily.
It takes out hot or moist air so that your new fan can do its job right.
Cut a Hole on The Roof
Cutting a hole in the roof is a key step for installing a solar attic fan. Use a reciprocating saw to make this hole accurately.
- Find the right spot on your roof where you want to place the fan.
- Check that nothing is in the way inside your attic, like wires or pipes, where you plan to cut.
- Use chalk to mark a circle on the shingles. This shows you where to cut.
- Carefully cut along the chalk line with your reciprocating saw. Be sure to wear safety goggles and gloves.
- Remove any shingles that are now loose around your new hole.
- Peel back these shingles so you can see the bare roof and work on it easily.
Install the Solar Attic Fan
To install the solar attic fan, follow these steps:
- Determine the appropriate location for the fan based on attic size and ventilation needs.
- Measure and mark the spot carefully in the attic for cutting the hole.
- Use a reciprocating saw to cut a hole in the roof according to the marked measurements while wearing appropriate safety gear.
- Apply tri-polymer roofing cement around the edges of the cut to ensure a watertight seal.
- Place the solar attic fan over the hole and secure it with screws, following the manufacturer’s instructions.
- Connect the wiring from the fan to a power source or battery as per local electrical codes and safety precautions.
- Caulk around the fan and over screws to prevent leaks and ensure stability.
Placement of Solar Attic Fan
- The preferred location for a solar attic fan is on the south or southwest side of the roof.
- It’s recommended to install the solar attic fan below the roofing tiles but between roofing paper and sheathing.
- Place the fan on a south-facing slope if possible, with fans featuring tiltable solar panels being suggested for non-ideal locations.
- Nails should be driven through the center of the vent location before placing the fan, also installing roof brackets and a fall-arrest system to ensure safety.
If unable to place it in an ideal location, consider installing a remote solar collector.
Benefits of Solar Attic Fans
Solar attic fans offer numerous benefits. First, they help prevent condensation and moisture buildup in the attic, maintaining a comfortable temperature and protecting the integrity of the structure.
Second, by reducing energy costs for cooling, these fans provide both financial savings and environmental benefits. Third, solar attic fans effectively lower the interior temperature of a home, creating a more pleasant living environment.
Fourth, through their use of sustainable solar energy, these fans contribute to reducing carbon footprint and promoting energy conservation. Finally, these fans offer an eco-friendly solution for improving air circulation and keeping homes cool efficiently.
In addition to maintaining comfortable temperatures and reducing excessive cooling needs, the installation of solar attic fans provides an effective means to promote sustainability while also offering cost-effective solutions for better air circulation within homes.
DIY Solar Projects: How to Make a Solar Panel Out of Recycled Materials
Now let’s delve into some DIY solar projects. You can make a solar panel out of recycled materials such as soda cans. Here’s how:
- Start by collecting soda cans and removing the tops and bottoms.
- Flatten the cans and cut them to create rectangular pieces.
- Attach these pieces to a wooden board using a strong adhesive, ensuring they are tightly secured together.
- Connect the pieces with wires, ensuring positive and negative terminals are properly aligned.
- Seal the gaps between the panels with a waterproof sealant to protect them from moisture.
Conclusion
In conclusion, installing a solar attic fan can be a cost-effective and efficient way to improve ventilation in your home. Properly positioning the fan and ensuring adequate roof ventilation is crucial for optimal performance.
With the right guidance and attention to detail, it is possible to complete this DIY project successfully. Solar attic fans not only help regulate temperature but also contribute to energy savings while providing sustainable home improvement.
If you’re interested in further solar DIY projects, check out our step-by-step guide on how to make a solar panel out of recycled materials.
FAQs
How does installing a solar attic fan help my home?
Installing a solar attic fan helps move hot air out of your attic. This keeps your house cooler, can reduce humidity, and may help your air conditioners work better.
Can I put a solar attic fan on any type of roof?
Yes, you can install a solar attic fan on different types of roofs, including metal roofs. Just make sure it’s done right to avoid leaks.
Do I need other ventilation when using a solar attic fan?
Even with a solar attic fan, you should have good soffit ventilation in your home to make sure air flows well through your whole attic space.
Can I install the solar attic fan myself or do I need professional help?
If you know about home improvement, you might be able to install it yourself. However, for safety and quality reasons, many people choose to get help from someone who installs HVAC systems or fans professionally.